Motivation
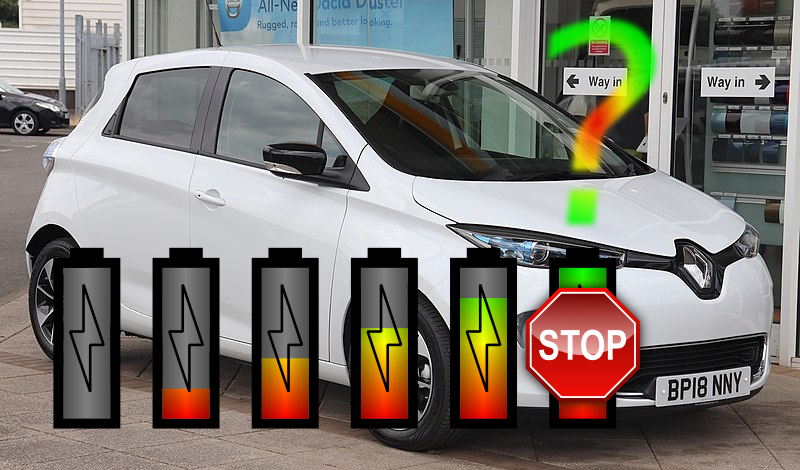
As everybody owning an EV (electric vehicle) knows, charging your car always up to 100% is not optimal for your traction battery. To get the greatest lifetime, it is best to limit charging to 80% and only charge to 100% before you plan a long trip.
I own some Renault ZOE and have some wall-box from go-e. At home, it is connected to your WiFi and has a nice API to control it. In turn, Renault offers a connected service, where you cann pull interesting information on your car, including the SOC (state of charge) of your traction battery.
Unfortunately, neither the car can be programmed to some end of charge state, nor can the go-e charger know the SOC of your car. Type2 AC charging is limited to a simple PWM from charger to car that tells the car, what current (per phase) is available for the car. IEC 61851-1 defines a range for the PWM from <10% (6A) … 25% (15A) … 85% (51A) … 97% (80A). See Wikipedia for more details…
But for an experienced Home Assistant user, this is just a few fingertips away, right? Let’s get started.
Integration with Home Asssitant
This seems quite an easy task and in the restrospective, it is… The problem is only to find the puzzle pieces to glue it all together. Here is how, in a simple step by step… For all file edits, I use the „File editor“ addon of home assistant. This makes life much easier…
First, you should define a new input_number to define the maximum SOC for charging:
input_numbers:
  goecharger_soc_limit:
    name: go-e Garage SOC limit (%)
    unit_of_measurement: '%'
    initial: 80
    min: 0
    max: 100
    step: 5
If you finished (and applied you individual needs) this, you can easily put a slider into your favorite dashboard. Create a new dashboard to be taken over by your user, if you not already did so. If you take over the default one, Home Assistant will not add new sensors to this dashboard anymore. An appropriate card to be added is the entities card or expressed as yaml (if you already integrated the go-echarger add-on):
views:
  - title: Auto & Co
    icon: mdi:car-electric
    badges: []
    cards:
      - cards: null
        entities:
          - entity: switch.goecharger_goegarage_allow_charging
          - entity: input_number.goecharger_charge_limit
          - entity: input_number.goecharger_soc_limit
[...]
Then you should restart your Home Assistant to reflect the changes. If everything worked and the SOC limit slider shows up, it’s time to write the automation. For this, go to your automations.yaml. I use a split configuration setup, where automations.yaml is included via automation: !include automations.yaml in configuration.yaml. To get the sensor for your current car’s SOC, you need to install and konfigure the Renault Integration (or another connect integration) and put in the following:
- id: <SOME_UNIQUE_ID>  # Useful for debugging the automation
  alias: Process go-echarger SOC Limit
  description: Disables charging depending on ZOE actual SOC and the set SOC
    limit
  trigger:
  - platform: state
    entity_id:
    - input_number.goecharger_soc_limit
    - sensor.<RENAUL_CONNECT_ID>_battery_level
  action:
  - choose:
    - alias: SOC below target
      conditions:
      - condition: template
        value_template: '{{ float(states.input_number.goecharger_soc_limit.state) <= float(states.sensor.<RENAUL_CONNECT_ID>_battery_level.state) }}'
      sequence:
      - service: switch.turn_off
        target:
          entity_id: switch.goecharger_goegarage_allow_charging
    default:
    - service: switch.turn_on
      target:
        entity_id: switch.goecharger_goegarage_allow_charging
  mode: single
If this is done, you can check and reload the automation config with Settings -> Server and test, if it works… If you have problems (and you assigned an ID), you can easily debug the automation with Settings -> Automation and pushing the![]() in your automations list entry.
in your automations list entry.

You can select each step in the process picture to get details about this step…
The current SOC of my ZOE is 99% and here are the results, when I move the target SOC from 80% to 100%, the activation slider (first entity in the image) moves from inactive to active.


Works 🙂
After some time, I decided, to switch my charger according to CO2 grid intensitiy, EPEX Price, SOC and time of day. My lovelance card looks like this:

I implemented the logic in node-red instead of HA automation scripts, which looks like this:

You can download and import the following json (you need to adjust the datadources):
Have fun!

Schreibe einen Kommentar