A few days ago, I received an IEC 62196 to Schuko (German Plug) adapter, to be able to draw 230V from a wall-box or public charger.
I’ll replace the Schuko by a CEE type blue connector, as it is usually used in camping equipment. This is just a present for one of my friends Tarek, some maybe even know already from Instagram or Youtube.
I already had the feeling, that the plug will be a bit sticky for my wall-box. Not due to mechanical tolerances but due to the vehicle detection that makes the wall-box to lock the cable as long as a car ist connected. Some wall-boxes have a release function, as also the go-echarger CM-03 has. Unfortunately, I have a CM-02 🙁
So I plugged the cable in, still hoping to be able to release it by software as a last resort. Hmmm… fail! I need to disassemble the charger.
I need to loosen one of the screws of the lock mechanism, to be able to bend it away just enough to release the plug.
And for you, not to also need to disassemble your wall-box, here is, how the cable can be disasembled still connected to the box.
- First loosen the cable gasket and the strain relief
2. Take out the tiny screw on the downside of the handle
Also look out, if there is another screw on the upper side, maybe covered by a sticker (reported by a friend of mine, that also had the same problem and broke out the second screw)
3. Pull the handle upwards and shake while adding force (see video), so that the handle slips over the red fiction rubber. It should then easily slip over the two tabs at the upper side of the connector.
The parts you can see (from right to left): 1N4007 (Standard Diode), 680 Ohms and 2 x 100 Ohms. In total this signals a vehicle ready for charging.
For detailed information about the IEC 62196 signaling, take a look at evalbo. Evalbo not only has some information on their site, but they also sells small detection circuits, that mostly contain a nice-looking incarnation of the ugly-looking diode-resistor joint I found in the type-2 plug from China. Following image is the evalbo CPP Elektronik 1.0 detection circuit.

They now have a new one (CPP Elektronik 2.0), that looks and works the same way.

Additionally it contains a reed-contact to release the cable, which I added myself described in the following section.
Adding the secret sauce to release the cable
To release the cable, you need to open the loop with the diode and the three resistors. For that purpose and to not get into trouble with moisture, I decided to use some reed-contact (ensure to get a NC-type = normally-closed). So I ordered one from Reichelt (MK15 B2 OE), added some wires and glued it to the inner side of the type-2-plug using UHU 2K (fast) glue.
I opened the the resistor-diode string and inserted the reed contact (connected to the white wires on the left side in the picture below. I did also put sume heat-shrink-tube around the resistors, the diode and the solder joints to insulate it and make it a bit more robust.
Testing the the power wires
To ensure, that the cable is OK, I also took my Benning IT 115 installation tester and did an impedance measument on the cheap adapter cable (and all the cabling to my wall-box included).
Testing the release mechanism
After assembly of the type-2-plug, I did also some check of the release mechanism using some quite strong magnet.
Finishing the cable
Since the friend of mine need it to recharge his van battery, he already has a CEE blue connector on his van and also some CEE blue extension cable, replacing the Schuko with a CEE blue was the only reasonable choice. When I opened the Schuko socket, I found flexible cables without end sleeves 🙁 So it was a great decision to open the socket and make it compliant to VDE.
I simply cut the wire, put end sleeves on and assebled the CEE blue one. And this is the result:
A nice EVSE to camping van adapter 😛
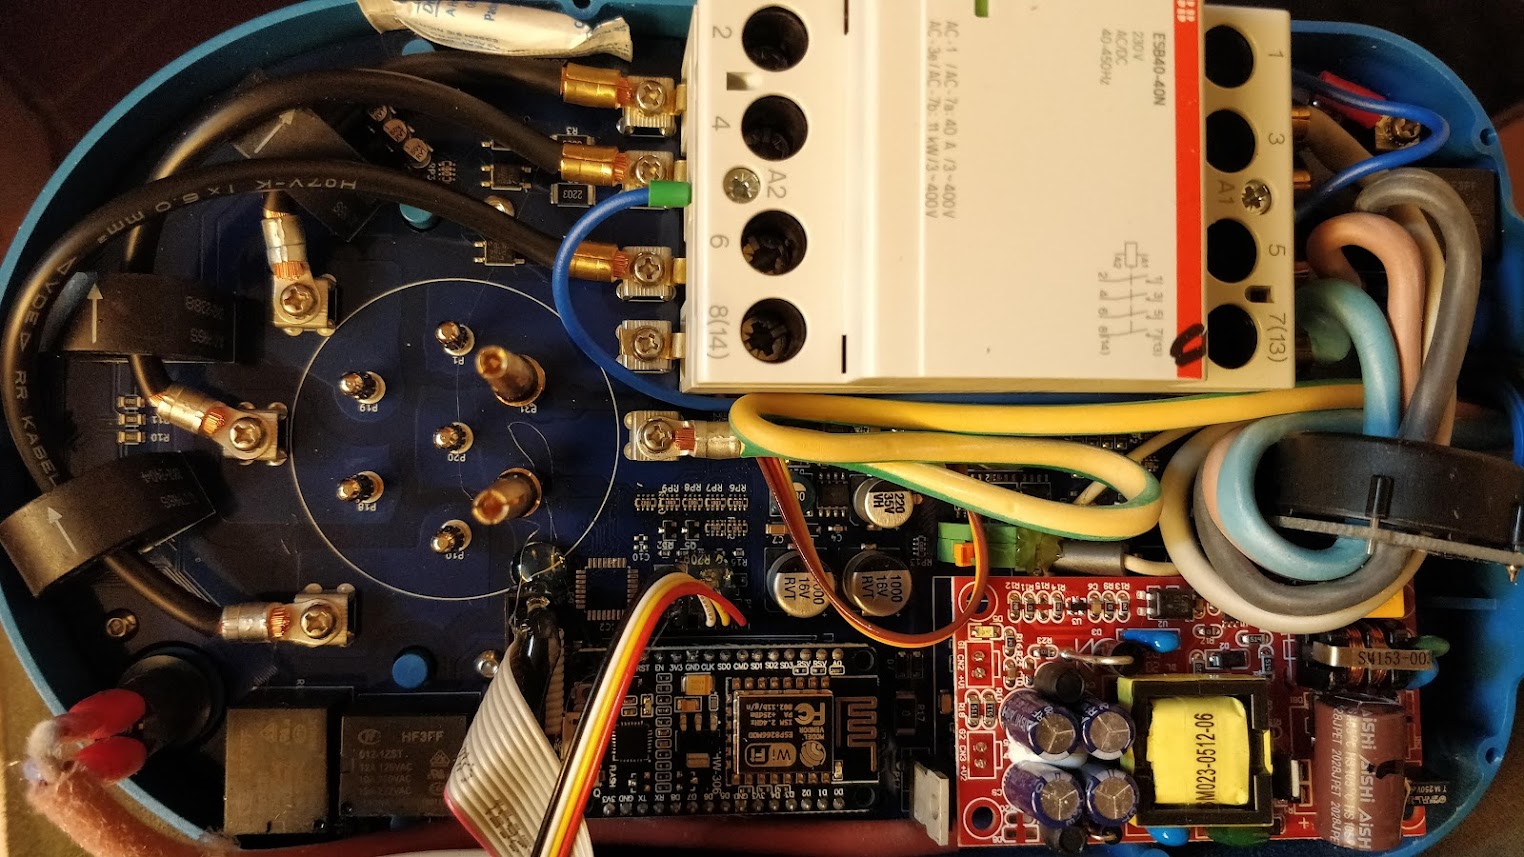
One thing to say: I can do some reverse engineering on the organs of the go-echarger, if there is enough interest from the community.
Now, have fun to add the switch and charge whatever you want or just plug a BBQ to a WallBox 🙂
Prima Zusammenfassung
Prima Zusammenfassung. Entspricht meinen Erfahrungswerten.

Schreibe einen Kommentar