Since quite some time, I ever wanted to automate the process of creating the annual bills for the renters of the one half of my house. I also integrated the oil level sensor, the energy flow measument devices and the heat cost allocators into my smart home running Home Assistant. After playing around with JupyterLab (an add-on to Home Assistant) and the data stored in my InfluxDB, I came to the descision, to write my own Home Assistant Add-On to be run by the Supervisor.
For that purpose, I selected the hassio example add-on as a starting base, since it already integrates all the boilerplate stuff an much more. First was to fork the repository to have an own one to code on in your GitHub account.

The easiest way to do the development on your local machine is to install the samba add-on on your Home Assistant Supervisor.

After configuration, you should be able to access your Home Assistant Samba Share within Windows Explorer or the OS of your choice.

Now attach the addons share to a network drive to make access even easier. I chose drive T: for that purpose. For development, I use Visual Studio Code, since it has great syntax highlighting, is available on many platforms and just works great.
Now you can just open the T-rive and clone your repo into the folder. For accessing GIT repos, I use TortoiseGIT on Windows or just the command line version of it. After cloning your repo, it schould look like this:

After cloning, it makes sense, to rename the example-folder to the name of your choice. I’ll use rentman for my tool.

Now you need to adjust some of the stuff in the repo, like the README.md (be aware of the short links, that get expanded by the descriptions at the end of the README.
In Github, you can activate most of the stuff, including the Actions which will build your addon and release it. All stuff needed to run the actions is already included. Find all mentions of hassio-addons/example-addon and replace it with your owns repo path (in my case: the78mole/addon-rentman). But for running the actions, one thing is missing: Notarize, using codenotary.io. To use this functionality and make your build happen, you need to register for free on codenotary.io (Quick Help). Registering is done on the dashboard (I used my GitHub-Account for that).
Fill in all necessary stuff and download the installer version of the app.
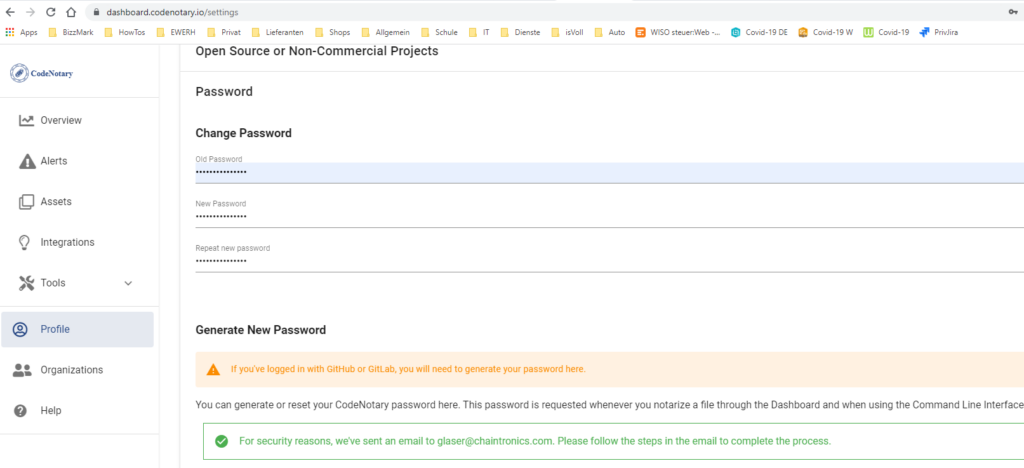
If you have loggen in with GitHub, you need to initially reset your password by logging in and selecting Profile in the left menu, scrolling down to Generate New Password and pressing the button.

Go to your email inbox and use the button to initial set a password for your account.
After logging in again, select VCN on the main page of the dashboard

Then start the app on your PC


Watch the page… When it succeeded, it will follow up.

No select some file to notarize (doen’t matter what, just e.g. a text file…). If you don’t want to cd to somewhere, notarize the gpl3license.txt in the vcn folder.

No you shall authenticate your first asset


That’s it. You authenticated your asset and it was linked to the blockchain of codenotary… With this functionality, you can make your files trusted to originate from you.
This last step will take quite some time, but when it finishes, it shall look like this:

OK, now as we managed to activate CodeNotary, we can also run your deployment jobs…

OK, that failed… If you look deeper in the logs, you will see, some envs for CodeNotary are missing.

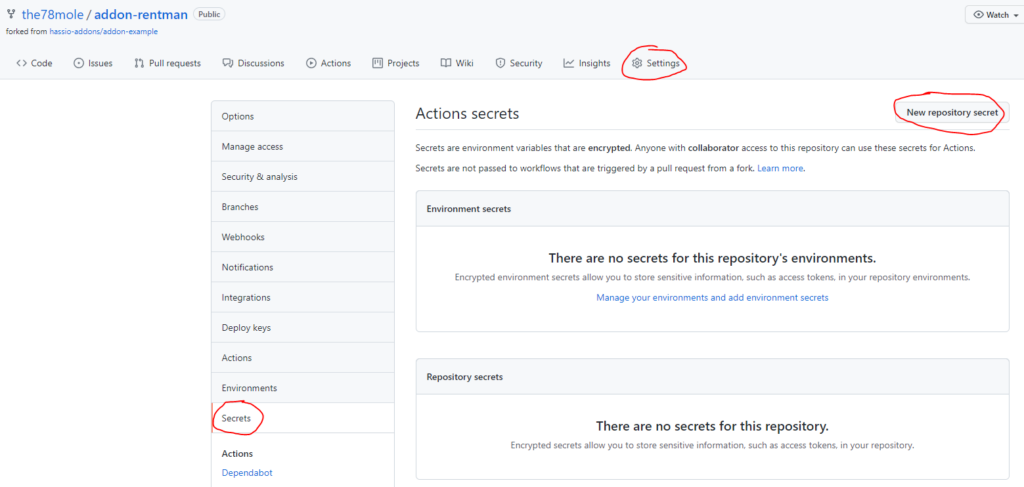
You may ask, how you can set the secrets in a secure place? Therefore, go to settings in your repo and select Secrets.


For the deployment, you also need some Deployment token (DISPATCH_TOKEN), that is mentioned in deploy.yaml


Now create three repos for edge, beta and stable releases, e.g. like I did with hassio-repo-edge, hassio-repo-beta and hassio-repo.
For the deploy action to function, we need to create an application token. To create one, follow the steps in this tutorial and note down this token, you will need it later and it can not be retrieved later.
Add this token as DISPATCH_TOKEN to your Secrets-Setting of your add-on repo. It should look like this afterwards:

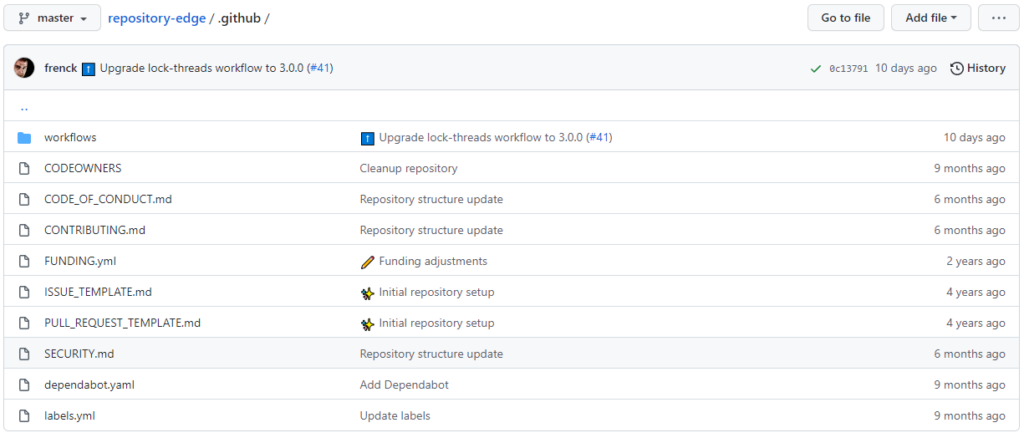
Now update the file deploy.yaml in your .github folder of your repo to mention the correct repositories (the ones you recently created for edge, beta and stable) to deploy. Here is an excerpt for my hassio-addon-edge repo:

If you now rerun the Deploy action, it should succeed.
What is not yet working is the actions that need to be performed to update the repo… To achive this, we need to add also some actions to the repos, as you can find in the original hassio-repos.

If you copy these over to your repo-repos, they will execute the dispatch event accordingly. Will will continue over here later. In the next post, we will start implementing our add-on, that is already at the right place (addons Samba share) to be executed by Home Assist.
…to be continued in a later post…
If you have questions, feel free to comment this post.
Have fun!

Schreibe einen Kommentar