
Publishing a Static Blog on GitHub Pages with Nuxt
How to turn a Nuxt content site into a fully automated, free static blog – from repository setup through custom domain to zero-click deployments.
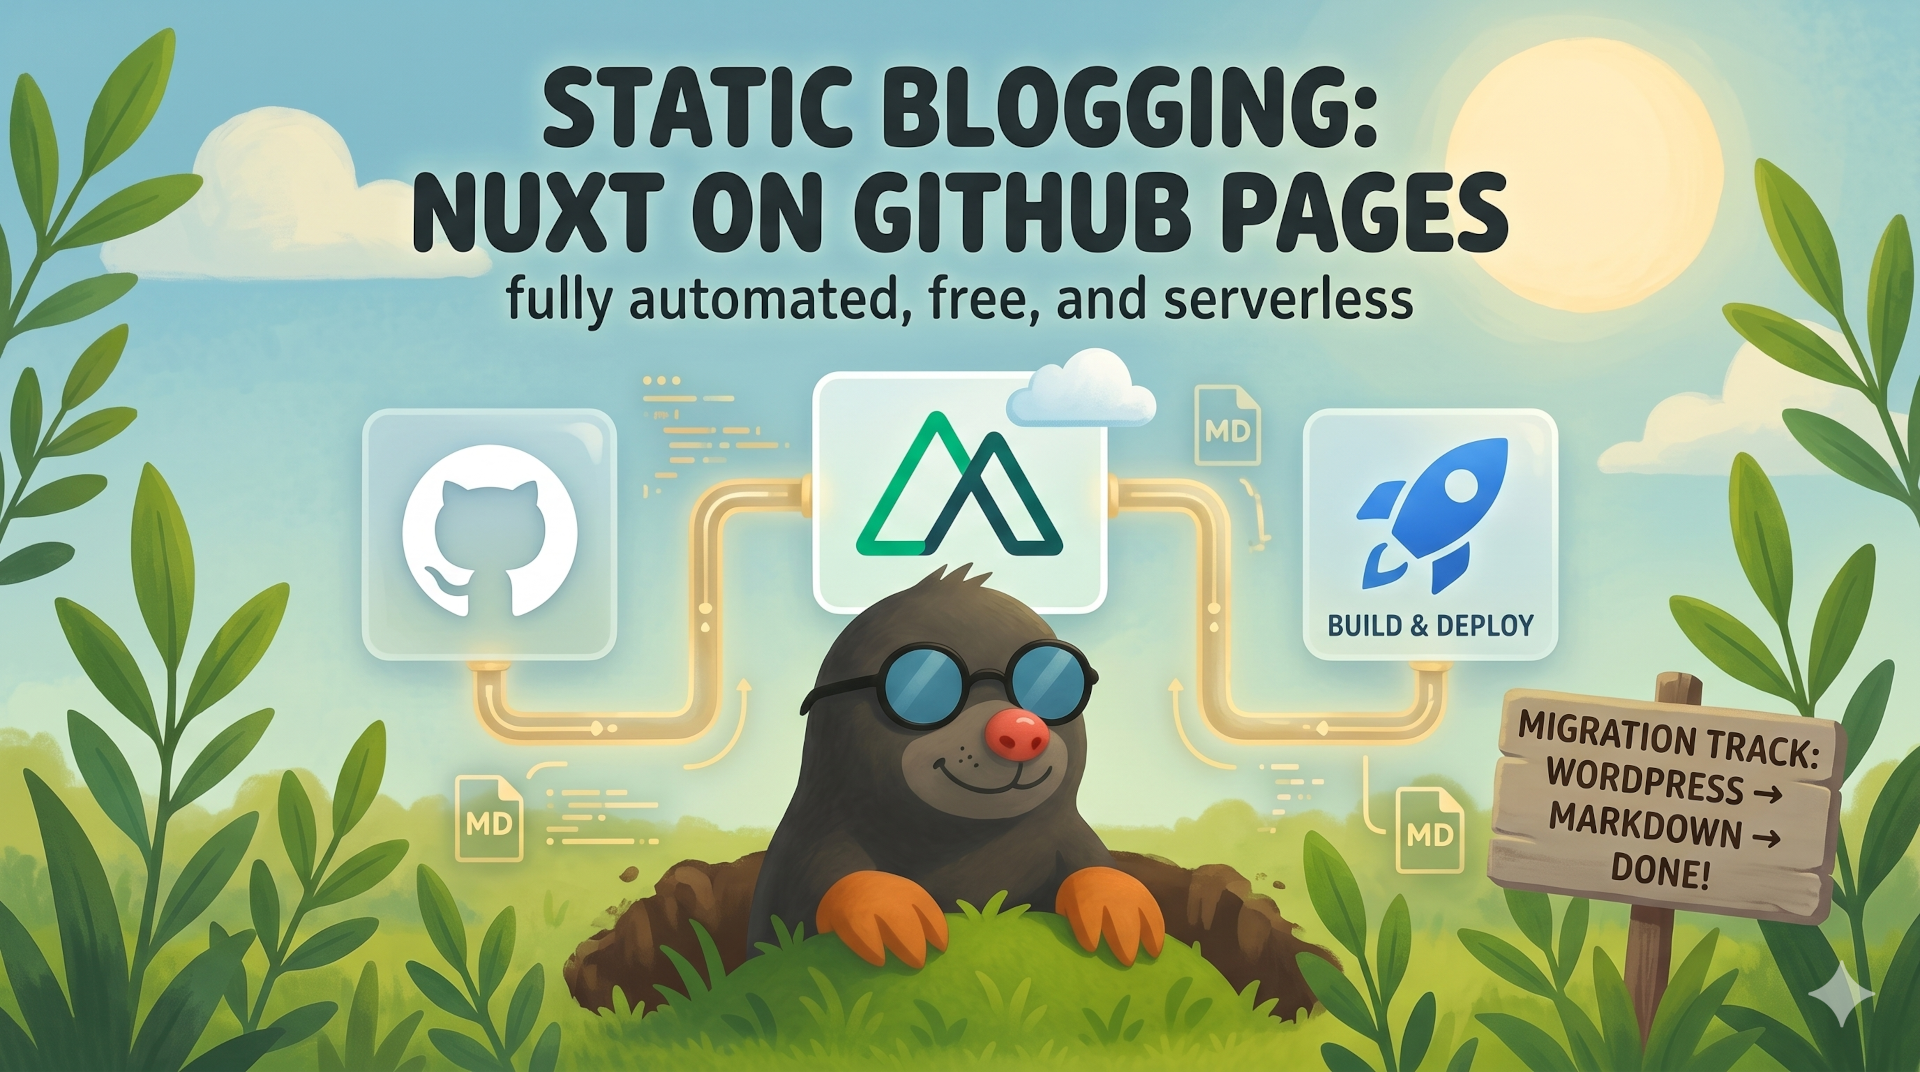
Every mole eventually digs its way to the surface. You have written something worth sharing – now you need a place to put it that costs nothing, needs no server to babysit, and deploys automatically every time you push.
GitHub Pages is that place. Pair it with Nuxt's static site generator and a GitHub Actions workflow and you get a fully automated pipeline: write Markdown, push, done.
This is exactly how this blog works. Let me walk you through it.
The Stack
| Layer | Choice | Why |
|---|---|---|
| Framework | Nuxt 4 | SSG + Vue components + content module |
| Content | @nuxt/content | Markdown files as typed collections |
| Styling | Tailwind CSS | Utility-first, no runtime CSS |
| Hosting | GitHub Pages | Free, fast, zero ops |
| CI/CD | GitHub Actions | Build & deploy on every push |
Everything runs at build time. No Node.js process, no database, no server to patch.
1. Create the Repository
GitHub Pages requires the repository to be named <your-username>.github.io for a user/organisation site. Create it on GitHub – public is fine, private works too but requires a paid plan for Pages.
# Clone it locally
git clone https://github.com/<your-username>/<your-username>.github.io
cd <your-username>.github.io
2. Bootstrap a Nuxt Project
# Initialise a new Nuxt app inside the cloned folder
npx nuxi@latest init .

# Add the content module and Tailwind
npm install @nuxt/content @nuxtjs/tailwindcss @tailwindcss/typography
Tell Nuxt to generate static HTML instead of running a server. In nuxt.config.ts nothing special is needed – nuxi generate defaults to full static output.
// nuxt.config.ts
export default defineNuxtConfig({
  modules: ['@nuxt/content', '@nuxtjs/tailwindcss'],
})
3. Write Content as Markdown
Create a content/blog/ folder and drop Markdown files in:
content/
  blog/
    2026/
      my-first-post.md
A typical post starts with YAML frontmatter:
---
title: "My First Post"
date: '2026-05-08'
description: 'A short teaser shown in the post list.'
image: /images/blog/2026/05/cover.jpeg
categories:
  - Dev
---

Hello world! This is my first post.
@nuxt/content picks up the files automatically, parses the frontmatter, and makes everything available via queryCollection().
4. Render Posts with a Dynamic Route
Create pages/blog/[...slug].vue:
<script setup lang="ts">
const route = useRoute()
const { data: post } = await useAsyncData(`post-${route.path}`, () =>
  queryCollection('blog').path(route.path).first()
)
if (!post.value) {
  throw createError({ statusCode: 404, statusMessage: 'Post not found' })
}
</script>

<template>
  <article v-if="post">
    <h1>{{ post.title }}</h1>
    <ContentRenderer :value="post" />
  </article>
</template>
5. Configure GitHub Pages
In your repository go to Settings → Pages:
- Source: choose GitHub Actions (not the legacy "Deploy from a branch" option).
- Leave everything else at defaults for now.
That single change tells GitHub to trust the artifact uploaded by your workflow instead of looking for files on a branch.
6. The GitHub Actions Workflow
Create .github/workflows/publish.yml:
on:
  push:
    branches: [main]

name: Build & Deploy to GitHub Pages

permissions:
  contents: read
  pages: write
  id-token: write

concurrency:
  group: "pages-${{ github.ref }}"
  cancel-in-progress: true

jobs:
  build:
    runs-on: ubuntu-latest
    steps:
      - uses: actions/checkout@v4

      - uses: actions/setup-node@v4
        with:
          node-version: 22
          cache: npm

      - run: npm ci

      - run: npm run generate

      - uses: actions/upload-pages-artifact@v3
        with:
          path: ".output/public"

  deploy:
    needs: build
    runs-on: ubuntu-latest
    environment:
      name: github-pages
      url: ${{ steps.deployment.outputs.page_url }}
    steps:
      - uses: actions/deploy-pages@v4
        id: deployment
Key points:
npm run generatecallsnuxi generateand writes the fully static site into.output/public/.upload-pages-artifactpackages that folder and makes it available to the deploy job.deploy-pagespushes it to GitHub's CDN. The whole pipeline usually finishes in under two minutes.
7. Custom Domain (Optional)
If you want blog.yourdomain.com instead of <username>.github.io:
- Create a
public/CNAMEfile containing only your domain:
blog.yourdomain.com
- Add a CNAME DNS record at your registrar pointing
blog.yourdomain.comto<username>.github.io. - In Settings → Pages → Custom domain enter the same domain and tick Enforce HTTPS.
The CNAME file is copied verbatim into .output/public/ during the build, so GitHub Pages always knows which domain to serve.
8. Secrets and Environment Variables
Some values – analytics IDs, ad publisher IDs – should not be hard-coded. Store them as GitHub repository variables or secrets:
- Settings → Secrets and variables → Actions → Variables for non-sensitive IDs
- Settings → Secrets and variables → Actions → Secrets for tokens and keys
Reference them in the workflow:
- run: npm run generate
  env:
    GOOGLE_ANALYTICS_MEAS_ID: ${{ vars.GOOGLE_ANALYTICS_MEAS_ID }}
And read them in nuxt.config.ts:
const gtagId = process.env.GOOGLE_ANALYTICS_MEAS_ID || 'G-XXXXXXXXXX'
A word on static sites and "secrets": Because
nuxi generateruns at build time, any environment variable you inject ends up baked into the generated HTML and JavaScript. A visitor who inspects the page source can technically read your Google Analytics measurement ID or AdSense publisher ID. That sounds alarming, but in practice it is not a problem – these identifiers are designed to be public. They appear in the HTML of virtually every site that uses them, and there is nothing meaningful an attacker can do with them that they could not already do by just visiting your site. The rule of thumb: only inject values that are safe to be public. Real secrets – API keys with write access, database passwords, tokens that can charge money – must never be used in a static build. Keep those server-side only.
9. Preview Pull Requests
Extend the workflow to upload a preview artefact on pull requests – useful for reviewing content changes before they go live:
- name: Upload PR preview
  if: github.event_name == 'pull_request'
  uses: actions/upload-artifact@v4
  with:
    name: "pr-preview-${{ github.event.pull_request.number }}"
    path: ".output/public"
    retention-days: 7
Download the artefact from the Actions run summary and open it locally with any static file server:
npx serve pr-preview-42/
The Full Picture
you write Markdown
  → git push
    → GitHub Actions: npm ci + npm run generate
      → .output/public/ uploaded as Pages artifact
        → deploy-pages pushes to GitHub CDN
          → https://<username>.github.io is live
No server. No containers in production. No ssh into anything at 2 a.m. because something crashed. The tunnel runs itself.
Summary
| Step | What to do |
|---|---|
| Repository | Name it <username>.github.io |
| Pages source | Settings → Pages → Source: GitHub Actions |
| Nuxt config | modules: ['@nuxt/content'], no extra setup |
| Workflow | npm run generate + upload-pages-artifact + deploy-pages |
| Custom domain | public/CNAME + DNS CNAME record |
| Secrets | GitHub Variables/Secrets + process.env in nuxt.config.ts |
The source code of this blog is on GitHub – feel free to use it as a starting point.
Side Tunnel: Migrating from WordPress
Already running a WordPress blog and want to bring it along? This mole has been there. Here is the approach used for this very site.
Step 1 – Export from WordPress
In your WordPress admin go to Tools → Export and choose All content. Download the WXR (WordPress eXtended RSS) XML file. Also grab a full media backup – the easiest way is a database + files backup plugin such as UpdraftPlus or the built-in export from your hosting panel. An alternative is to use an FTP client to download the wp-content folder and let copilot find the assets, using some 'copilot-handcrafted' scripts.
Step 2 – Convert Posts to Markdown
The WXR file contains all posts as HTML inside <content:encoded> tags. A small Python script (using lxml and html2text or markdownify) can walk every <item> with <wp:post_type>post</wp:post_type> and write one .md file per post:
# Minimal sketch – production version lives in scripts/migration.py
from lxml import etree
import html2text

WP  = '{http://wordpress.org/export/1.2/}'
CNT = '{http://purl.org/rss/1.0/modules/content/}'
tree = etree.parse('molesblog.WordPress.xml')

converter = html2text.HTML2Text()
converter.ignore_links = False

for item in tree.findall('.//item'):
    post_type = item.findtext(f'{WP}post_type')
    if post_type != 'post':
        continue
    slug  = item.findtext(f'{WP}post_name')
    title = item.findtext('title')
    date  = item.findtext(f'{WP}post_date')[:10]
    html  = item.findtext(f'{CNT}encoded') or ''
    md    = converter.handle(html)

    path  = Path(f'content/blog/{date[:4]}/{slug}.md')
    path.write_text(f'---\ntitle: "{title}"\ndate: \'{date}\'\n---\n\n{md}')
Refine from there: extract categories, the featured image path, the excerpt for description, and fix image URLs to point to your new /public/images/ tree.
Step 3 – Migrate Images
WordPress stores uploads under wp-content/uploads/<year>/<month>/. Copy the files to public/images/blog/<year>/<month>/ and do a find-and-replace in all Markdown files to rewrite the paths:
# Example: rewrite old WordPress upload URLs to new local paths
find content/ -name '*.md' -exec sed -i \
  's|https://yourdomain.com/wp-content/uploads/|/images/blog/|g' {} +
Step 4 – Preserve Comments with Giscus
WordPress comments should not just vanish. The strategy used here is:
- Extract all
<wp:comment>nodes from the WXR and PHP-serialised review metadata into a structured JSON file (scripts/extract_comments.py). - Assign each comment thread to its corresponding blog post slug, building a
discussions/<slug>.jsonfile with the full reply tree (scripts/assign_comments.py). - Create GitHub Discussions via the GraphQL API – one Discussion per post, with historical comments as replies (
scripts/create_discussions.py). - Wire up Giscus in your Nuxt layout so the comment widget maps each page to the matching Discussion by
pathname.
# Run all three steps from the repo root (requires uv)
uv run --project scripts scripts/extract_comments.py
uv run --project scripts scripts/assign_comments.py
uv run --project scripts scripts/create_discussions.py
The create_discussions.py script is idempotent: if a Discussion already exists for a post (tracked via discussion_id: in the Markdown frontmatter), it is skipped on re-runs.
On the Nuxt side, install giscus and add a <GiscusComments /> component to your post layout. The widget picks up the correct Discussion automatically because it matches on the page pathname – exactly the same slug GitHub Actions deployed.
<!-- components/GiscusComments.vue (simplified) -->
<script setup lang="ts">
const config = useRuntimeConfig()
</script>
<template>
  <div class="giscus-wrapper">
    <component
      :is="'script'"
      src="https://giscus.app/client.js"
      data-repo="the78mole-blog/the78mole-blog.github.io"
      :data-repo-id="config.public.giscusRepoId"
      :data-category-id="config.public.giscusCategoryId"
      data-mapping="pathname"
      data-reactions-enabled="1"
      data-theme="preferred_color_scheme"
      async
    />
  </div>
</template>
Migration Summary
| Task | Tool |
|---|---|
| Export WordPress content | WordPress admin → Tools → Export |
| Convert HTML → Markdown | lxml + html2text / markdownify |
| Rewrite image paths | sed + copy files to public/images/ |
| Extract WordPress comments | scripts/extract_comments.py |
| Build Discussion JSON files | scripts/assign_comments.py |
| Create GitHub Discussions | scripts/create_discussions.py |
| Embed comment widget | giscus + <GiscusComments /> component |
One final tip: keep the old WordPress URL structure alive as redirects. Nuxt's routeRules in nuxt.config.ts generates static meta-refresh pages for every old URL, so inbound links and search-engine rankings survive the move.
Cross Tunnel: Keeping Links Alive with the Link Checker
A blog that grows over years accumulates links that eventually rot. Images move, external services vanish, internal slugs get renamed. Rather than discovering this when a reader complains, there is a script for that.
scripts/check-links.py is a self-contained PEP 723 script (no virtualenv needed) that scans every Markdown file under content/ and validates three categories of links:
| Category | What is checked |
|---|---|
External (http/https) | HTTP HEAD request, falls back to GET; measures response time |
Internal /images/… | File existence under public/ |
Internal /blog/… and /pages/… | Matching .md file under content/ |
Running it
# Internal links only – fast, no network required
make check-links-fast

# Full check including external URLs (parallel, cached)
make check-links

# Non-interactive mode for CI pipelines
make check-links-ci

# Write a full report to a log file
make check-links-log LOG=/tmp/links.log
The script keeps a .link_cache.json file in the repo root so external URLs are not hammered on every run:
| Cache status | Re-checked after |
|---|---|
passed | 28 days |
manual | 365 days (human-verified) |
captcha | 365 days (CAPTCHA-protected page) |
failed | Every run |
At the end of an interactive run the script opens a prompt where you can mark problematic links as manual or captcha, add them to an ignore file, or just note them for later. To reset the cache entirely:
make check-links-reset
The --ignore-file flag accepts a plain-text file with URL prefixes to skip (one per line, # comments allowed) – useful for localhost addresses or URLs that consistently trigger false positives.
The Mole's Map: A Tour of the Makefile
Every mole needs a map of its own tunnels. After a few weeks away from the repo it is easy to forget which command does what. The Makefile is that map – run make with no arguments to see the full list:
the78mole-blog – available targets

  Nuxt
    make install            Install npm dependencies
    make dev                Start Nuxt dev server  (http://localhost:3000)
    make build              Build for SSR
    make generate           Static site generation (GitHub Pages)
    make preview            Preview generated site

  Link checking
    make check-links        Full check: external + internal (interactive)
    make check-links-fast   Internal links only, no HTTP requests
    make check-links-ci     Non-interactive check (for CI pipelines)
    make check-links-log    Full check + write log to $LOG
    make check-links-reset  Clear the link cache (.link_cache.json)

  Assets
    make restore-assets     Dry-run: show missing WP assets to restore
    make restore-assets-do  Actually copy missing WP assets to public/
The day-to-day workflow
make dev                # write content, hot-reload at localhost:3000
make check-links-fast   # verify internal links before pushing
git add -A && git commit -m "new post: …"
git push                # triggers publish.yml → live in ~90 seconds
Before a big content batch
make check-links        # full external check, interactive cache update
make restore-assets     # dry-run: see which WP images are still missing
make restore-assets-do  # actually copy them once you're happy
Targets at a glance
| Target | Tunnel it digs |
|---|---|
make dev | Nuxt dev server with hot-reload |
make generate | Full static build into .output/public/ |
make preview | Serves .output/public/ locally |
make check-links-fast | Internal link sanity check (pre-push) |
make check-links | Full dead-link audit with cache |
make check-links-ci | Same, non-interactive (for GitHub Actions) |
make check-links-reset | Wipe .link_cache.json and start fresh |
make restore-assets | Show missing WordPress media (dry-run) |
make restore-assets-do | Copy missing WordPress media into public/ |
The map is always up to date – it is the Makefile itself. When you add a new script, add a make target and a help line at the same time, and future-you will be grateful.